Frequently Asked Questions
Frequently Asked Questions
i) Do you have a broadband connection from your Internet provider?
This could be a DSL or cable internet provider. There is no support of dial up services.
ii) Do you have a working Wi-Fi router in your home with an available LAN port?
The router allows the distribution of the broadband signal to other devices in your home. It supports both physical connection and wireless to these devices. Our system will require a physical connection to one of the available LAN ports on the router.
iii) Do you have a working smartphone with data plan?
Your smartphone will be needed to install and access our security control app, and for support of SMS messaging, streaming video, and email.
iv) Do you have power outlets located where you are placing the cameras and Shuttle?
This, primarily, eases the installation by having these devices near AC outlets. In addition, it would be ideal to have the Shuttle also near your home router, since there is a required physical connection to a LAN port.
Please follow the step by step instructions of our installation guide and you should have no problems with our security system coming on-line successfully.
First sign in to your mobile app,
a) To add a Shuttle (OPU)
From the home screen, tap the “Sidebar Menu” icon
Tap “Device Management”
Tap “Add” in the upper right corner and choose “New OPU”
Follow the instructions on the application
b) To add a camera
From the home screen, tap the “Sidebar Menu” icon
Tap “Device Management”
Tap “Add” in the upper right corner and choose “IP Camera”
Follow the instructions on the application
c) To add a sensor
From the home screen, tap the “Sidebar Menu” icon
Tap “Device Management”
Tap “Add” in the upper right corner and choose “Sensor”
Follow the instructions on the application
Tap “Forgot password?”
You will be prompted to provide the Account Number (phone number)
Tap “Submit”
The following message will appear, “Request submitted. An email with a new password will be sent to you shortly”. A new password will be emailed to the email address that is associated with your account.
You can then change the randomly generated password by:
From the home screen, tap the “Sidebar Menu” icon
Tap “My Profile”
Tap “Change Password”. Enter the randomly generated password, type in the new password, retype new password
Tap “√” (Save)
From the home screen, tap the “Sidebar Menu” icon
Tap “Notifications”
Ensure “Push Notification” is “ON”. Ensure “Audio alerts on mobile” is “ON”.
Then check the smartphone volume control, including the mute button.
On Android devices, verify the sound status in settings, sound, volumes, Music, video, games, and other media.
Turning on app notification with Android devices: Settings, Application Manager, Home8, tap check show notifications box.
On iOS devices, verify the sound status in settings, sounds, Ringer and Alerts.
Turning on app notification with iOS devices: Settings, Notification Center, Home8, alert style not set to none, Sounds = “On”, Show in Notification Center = “On”, Show in Lock Screen = “On”
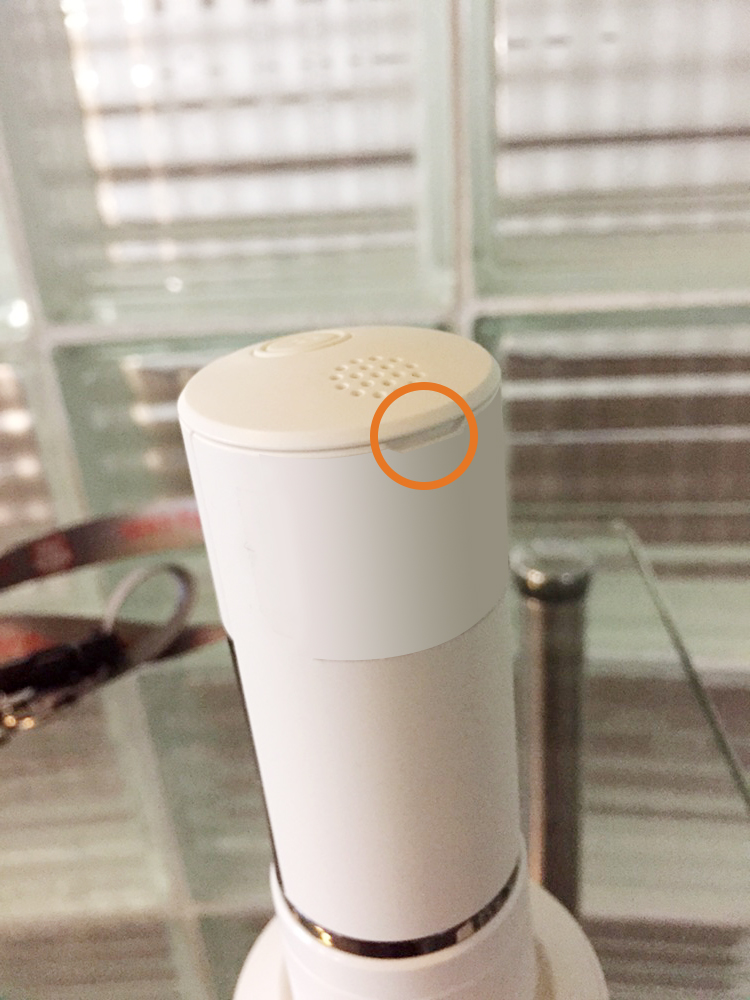
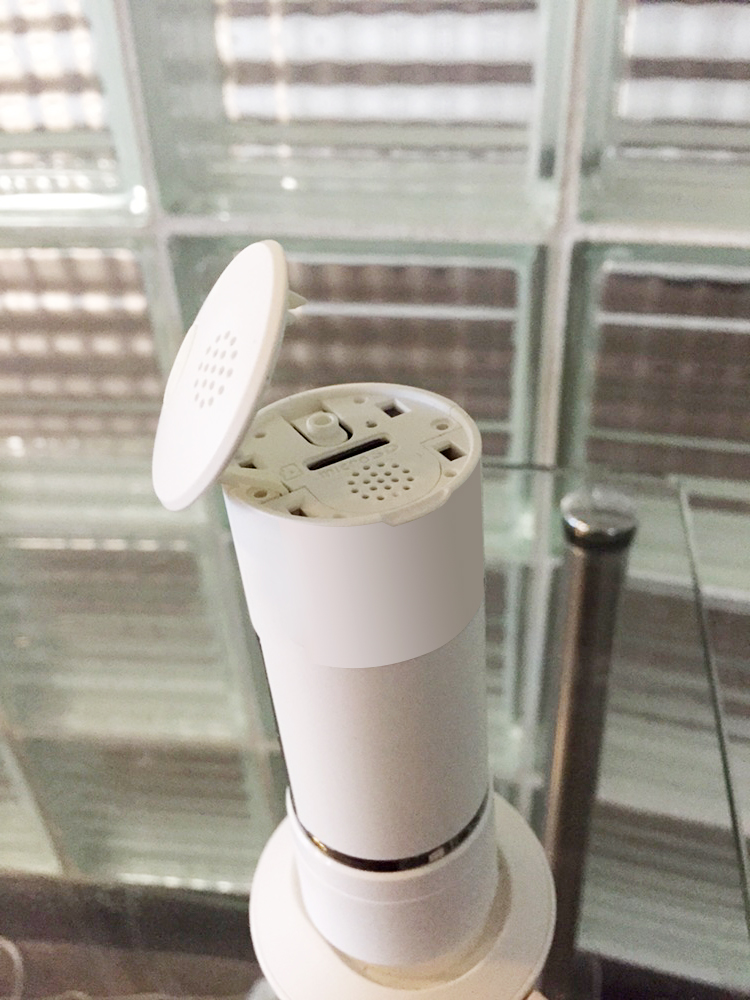
Located at the top of the Twist camera is a cover. Lift it up for access to the MicroSD card slot.
· Amazon Alexa App has already been downloaded to the Smartphone
· On the Amazon Alexa App, an account was already created and registration completed
· On the Amazon Alexa App, setup for an Echo device was completed
· On the Amazon Alexa App, the message “Echo Is Ready” was received
Alexa/Home8 Integration:
· Open the Amazon Alexa App
· At the Home Page, tap on the SideBar Menu (3 lines in the upper left)
· Tap on “Skills”
· On the All Skills Page, enter “home8” in the Search field for Categories
· Tap on “Search”
· Tap on “home8”
· Tap on “Enable Skill”
· Enter Home8 Account Information and Password
· Tap on “Sign In”
· At Permission For Access, tap on “Allow”
· At Create A PIN Code, enter a 4 digit code and tap on “Continue”
· You should receive “Your Home8 Skill Was Successfully Linked” to signify completion of the integration
· Activate the Home8 Skill by saying “Alexa, open home8”
· Check in the Home8 App for “Amazon Echo” in the SideBar Menu … the Home8 system should be listed there
· Test the integration by saying “Alexa, tell home8, arm my system”
For a description of the Home8 Skills, go to https://www.alexaskillstore.com/home8/40591
If the integration does not seem to work, ensure the home8 system is working by ARMing/DISARMing with the app and that Alexa is working by giving it a command. Try resetting the Wi-Fi of Alexa.
Your Honeywell Account needs to be set up to communicate with your Honeywell Thermostat.
Once successful, open the Home8 App.
At the Home Screen, tap on the three lines in the upper left corner to open the SideBar menu.
Tap on Device Management.
Tap on the OPU/Shuttle.
Tap on Manage Integration.
Tap on Account associated with Honeywell.
Enter the appropriate information and then SIGN IN.
For more information and compatible Honeywell Thermostat systems, please go to the following article:
https://www.home8alarm.com/2016/06/09/home8-announces-compatibility-honeywell-wi-fi-thermostats-2
Once successful, open the Home8 App.
At the Home Screen, tap on the three lines in the upper left corner to open the SideBar menu.
Tap on Device Management.
Tap on the OPU/Shuttle.
Tap on Manage Integration.
Tap on Account associated with LockState.
Enter the appropriate information and then Sign In.
Once successful, open the Home8 App.
At the Home Screen, tap on the three lines in the upper left corner to open the SideBar menu.
Tap on Device Management.
Tap on the OPU/Shuttle.
Tap on Manage Integration.
Tap on Account associated with Nest.
Tap CONTINUE.
Enter the appropriate information and then Sign in.
At the Home Screen, tap on the three lines in the upper left corner to open the SideBar menu.
Tap on Device Management.
Tap on the OPU/Shuttle.
Tap on Manage Integration.
Tap on line associated with Hue.
“Press on the button on Hue Bridge now to proceed with the connection.”
Out the box, the camera’s motion detection feature is turned off by default. From the Home Screen of the App, go into Device Management and tap on the camera in Camera List. Then tap on Motion Detection. You will notice that it is set to 0%, which is OFF. Setting it to 100% is too sensitive and will trigger many false alarms. You can test this by ensuring nothing is moving in the room and then arming the system and then waiting a little while. If you are sure nothing is moving in the room and an event gets triggered due to motion being detected by the camera, the sensitivity is too high. Lower the sensitivity and test again. Once you get no more false alarms, do a test by acting like an intruder to see if an event gets triggered. You may find that you need to increase the sensitivity as it might be not sensitive enough. You will need to test and find the correct sensitivity value for the environment. Please note that each event requires a 30 second cool-down before another event can be triggered.
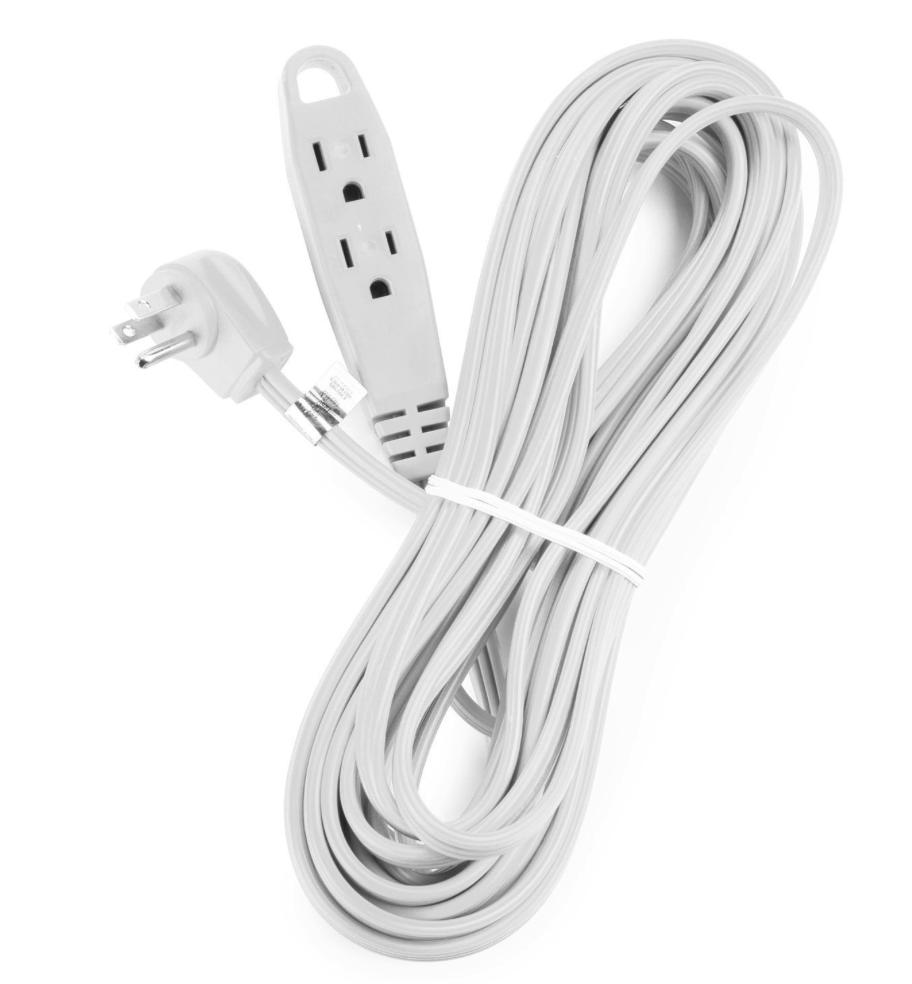
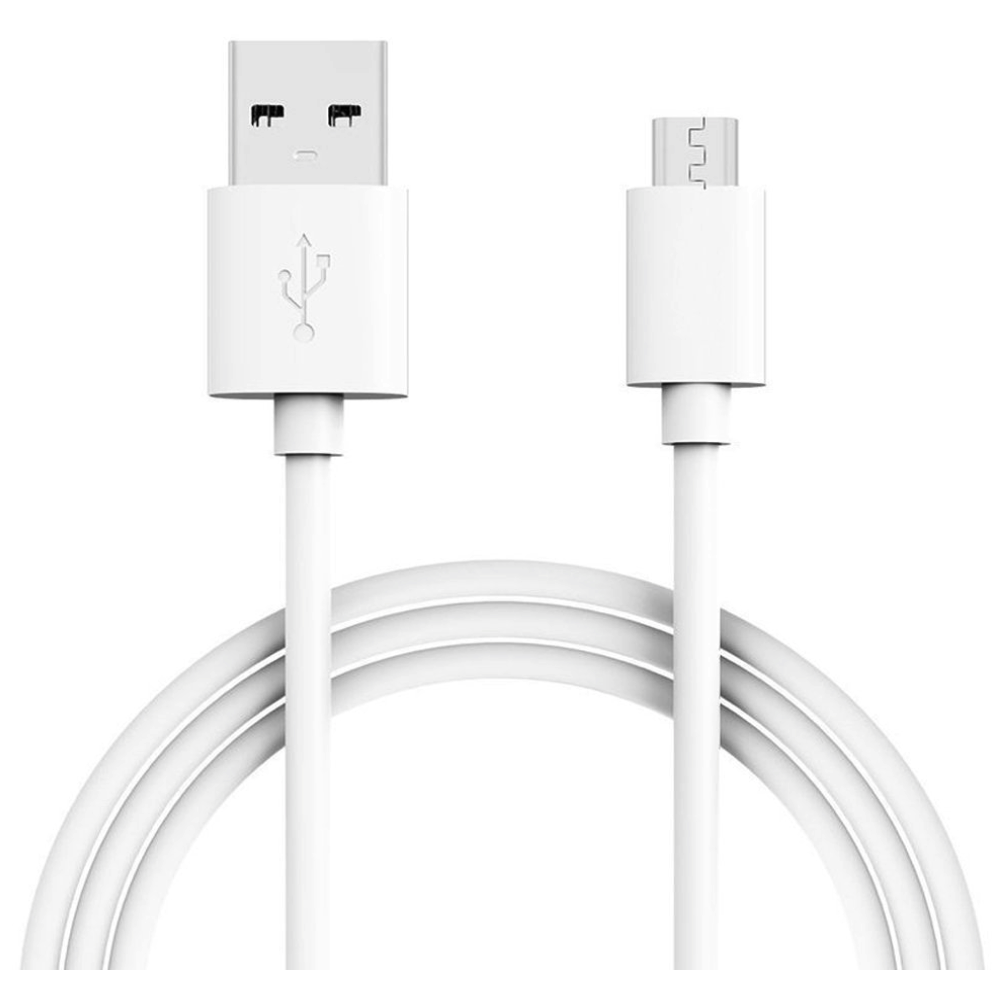
Any “Micro-USB male to USB-A male cable” will be compatible with the devices. The cable is also known as a “Micro-USB charging cable”. You can choose cables of 10ft to 15ft. If the required length is longer than 15ft, it is recommended that a 110V extension cord be used and extended from the wall outlet.
# of Doors:
Make:
Model:
You need to make selections first